I understand the power of well-manicured nails in enhancing your overall look. Acrylic nails have become increasingly popular due to their durability and versatility. We will explore the pros and cons of acrylic nails, a step-by-step guide on how to apply them, and important things to remember when getting acrylic nails.
Pros and Cons of Acrylic Nails
Pros:
Durability: Acrylic nails are known for their strength and durability, making them less prone to chipping or breaking.
Versatility: Acrylic nails can be customized in terms of length, shape, and design, allowing for endless possibilities and personalization.
Long-lasting: With proper care, acrylic nails can last for several weeks without losing their shine or color.
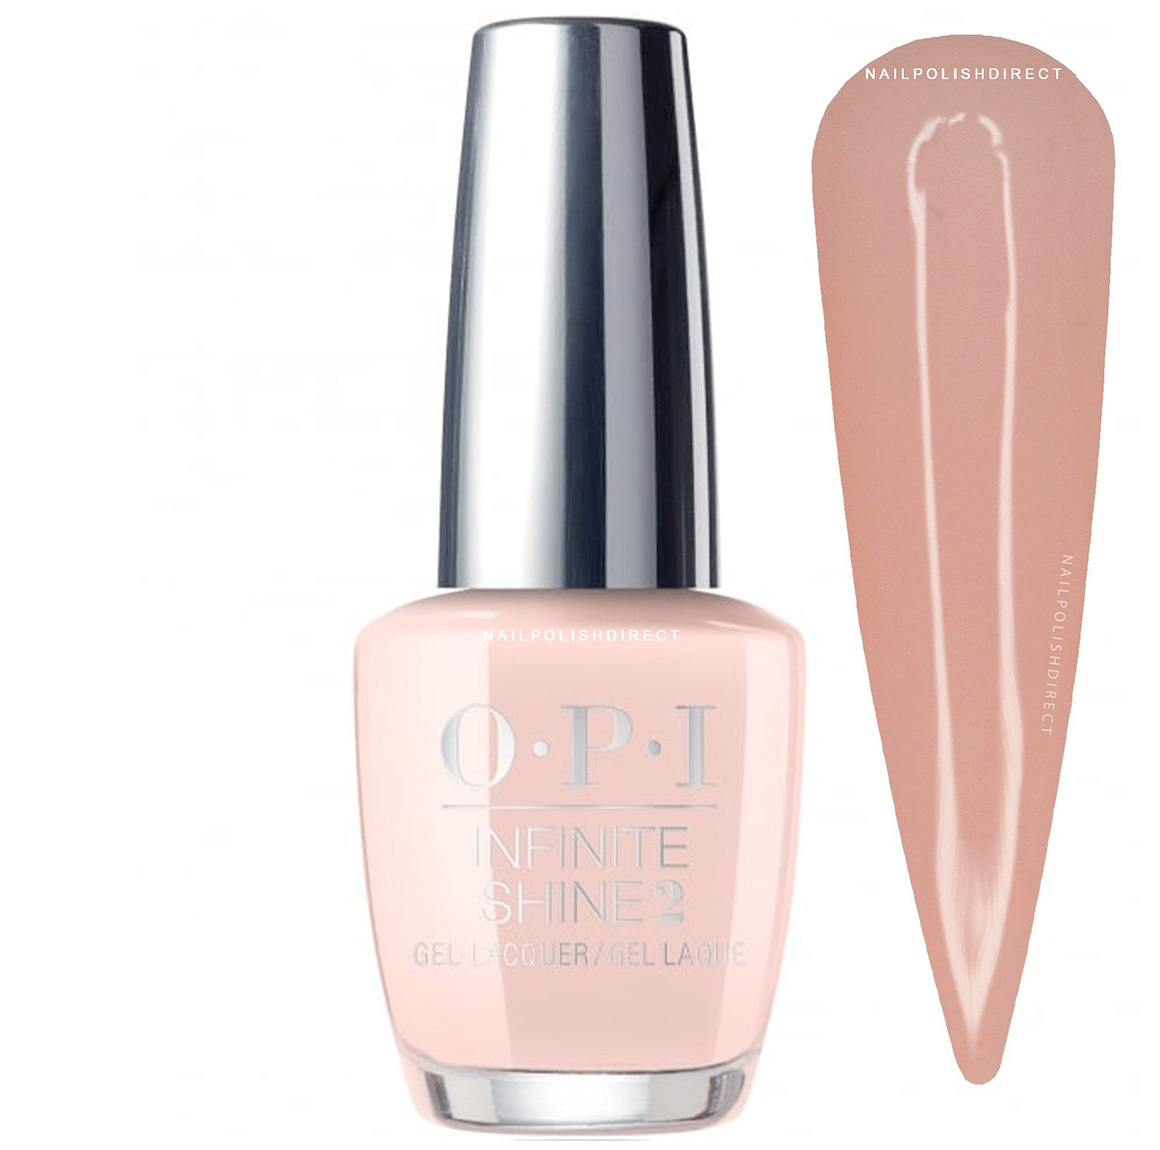
Product Recommendations:OPI Nail Lacquer – Bubble Bath: A pale pink shade that complements acrylic nails beautifully.
Cons:
Initial Application Time: Applying acrylic nails can be time-consuming, as it involves several steps and requires precision.
Potential Damage: If not applied or removed properly, acrylic nails can cause damage to the natural nails, including weakening and thinning.
Maintenance: Regular maintenance appointments are necessary to fill in the growth gap and maintain the appearance of acrylic nails.
How to Apply Acrylic Nails
Step 1: Prep the Nails
Start by removing any existing nail polish and ensuring the nails are clean and dry.
Step 2: Trim Nails
Trim your natural nails to the desired length, keeping in mind that acrylic nails will add additional length.
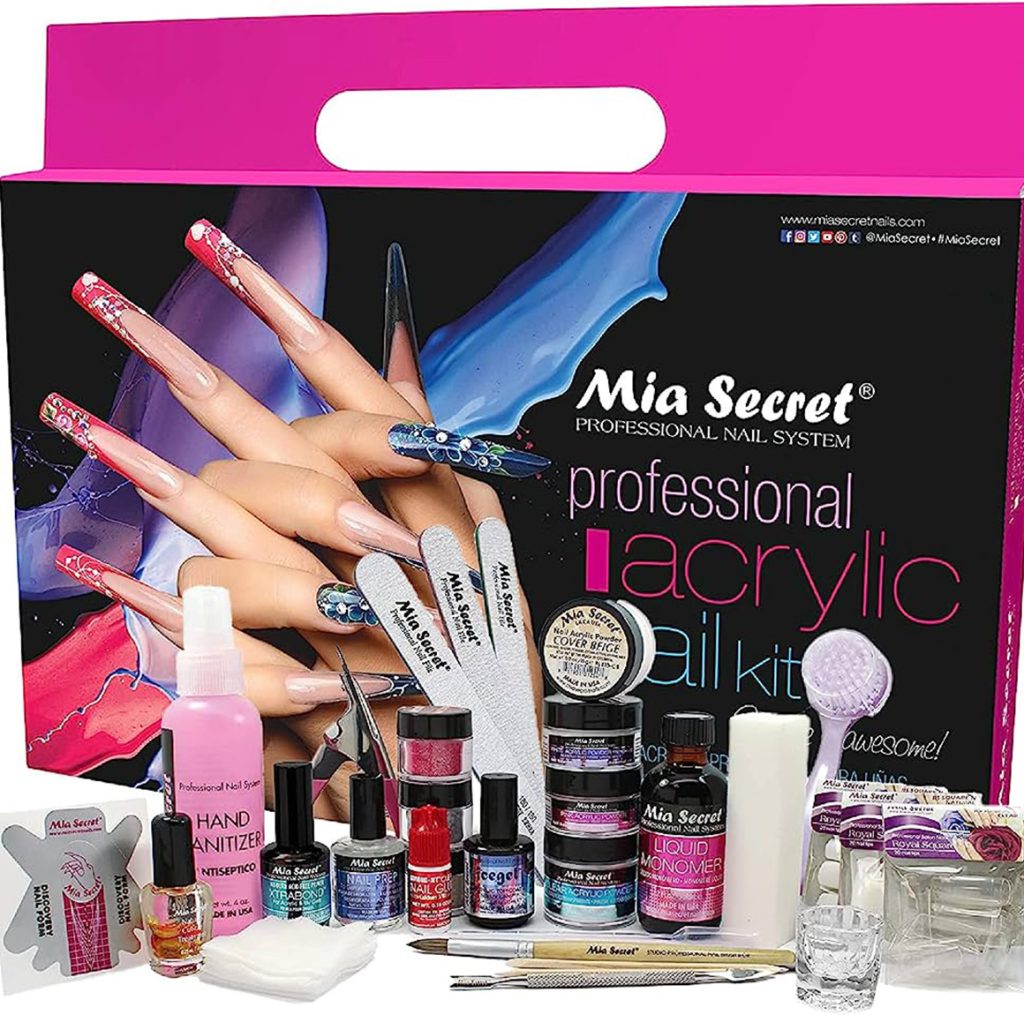
Product Recommendations:Mia Secret Acrylic Nail Kit: A comprehensive kit that includes all the necessary tools and products for acrylic nail application.
Step 3: Buff Nails
Gently buff the surface of the nails to create a rough texture, which helps the acrylic adhere better.
Step 4: Nail Primer
Apply a nail primer to the nails to promote better adhesion between the natural nail and the acrylic.
Step 5: Application of the Tips
If desired, apply nail tips to extend the length of your nails. Trim and shape the tips to achieve the desired look.
Step 6: Prepare the Acrylic Material
Mix the acrylic powder and liquid according to the manufacturer’s instructions. Use a small dappen dish for this step.
Step 7: Pick Up the Acrylic with the Brush
Dip the acrylic brush into the liquid, then press it into the powder to create a small bead of acrylic on the brush.
Step 8: Apply the Mixture
Starting at the base of the nail, gently brush the acrylic mixture onto the nail, working your way toward the tip. Shape and smooth the acrylic as you go.
Product Recommendations:CND SolarOil: An essential cuticle oil that helps nourish and maintain the health of your natural nails.

Step 9: Let It Dry
Allow the acrylic to dry completely. This usually takes a few minutes.
Step 10: Finishing Touches
File and shape the acrylic nails to achieve the desired length and shape. Apply a top coat to seal and protect the acrylic.
Things You Must Remember When Getting Acrylic Nails
- Choose a reputable and experienced nail technician for the application and maintenance of acrylic nails.
- Practice proper nail care and maintenance, including regular fills and removal by a professional.
- Avoid using your acrylic nails as tools to prevent breakage or damage.
- Be mindful of any allergic reactions or sensitivities to the products used in acrylic nails.
Acrylic nails offer durability, versatility, and long-lasting beauty. However, it’s important to consider the pros and cons, follow proper application techniques, and maintain them with care. By understanding the process and keeping these tips in mind, you can enjoy stunning and long-lasting acrylic nails that enhance your personal style.


+ There are no comments
Add yours