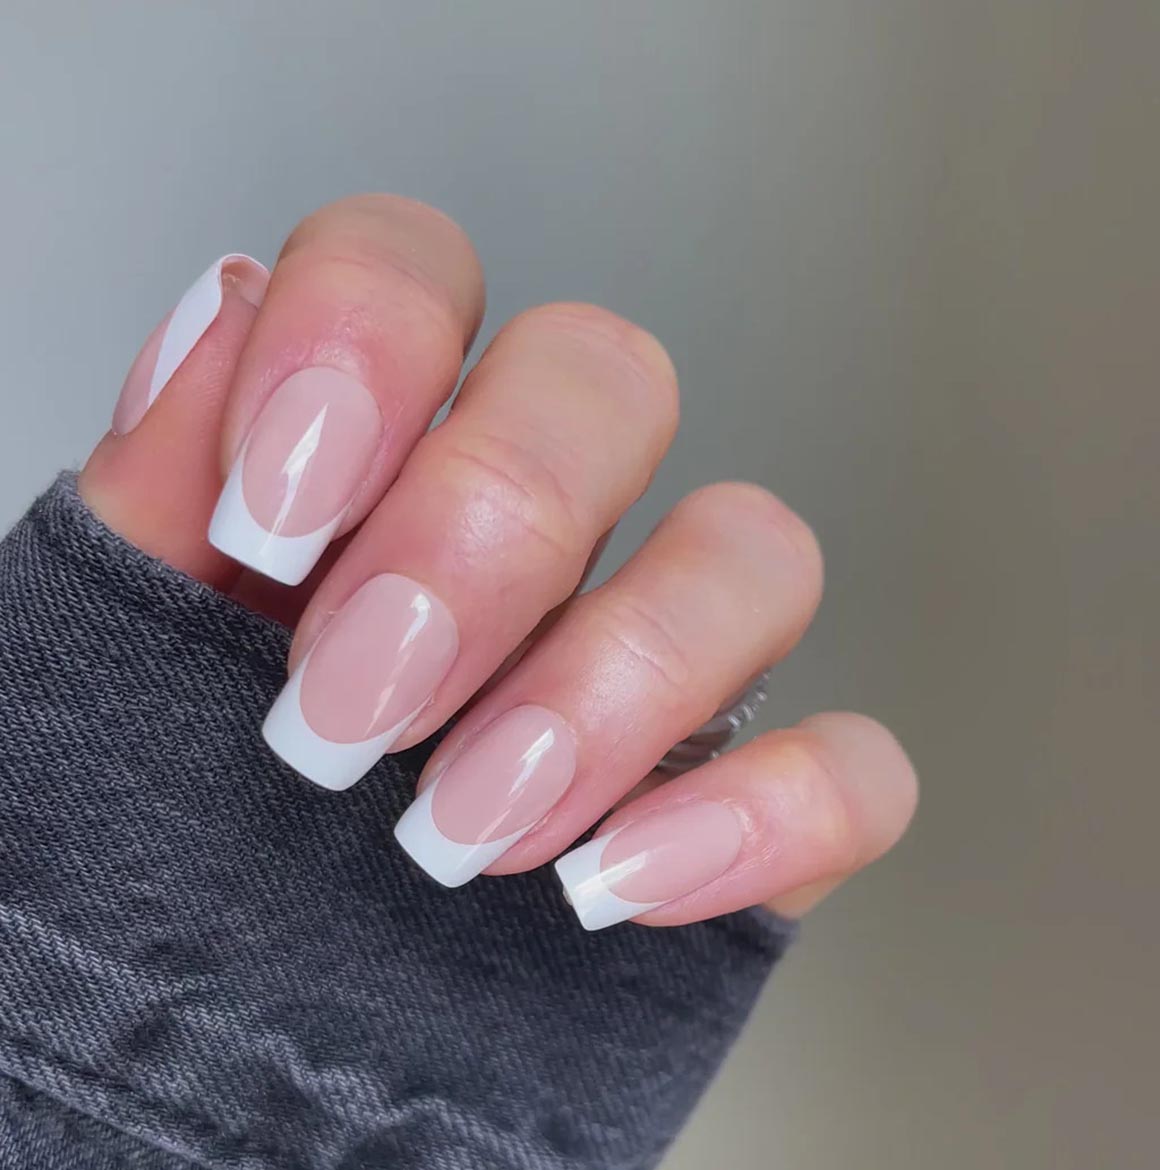
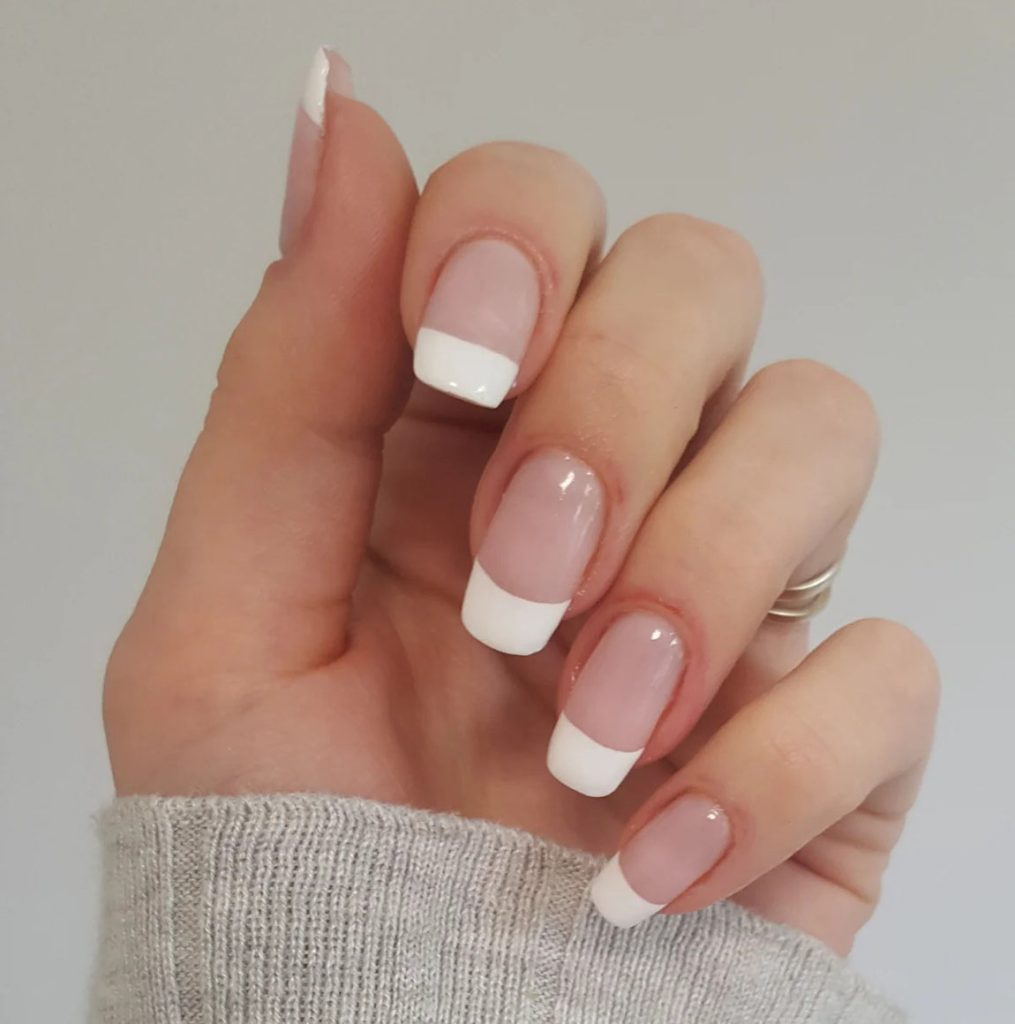
The French manicure has long been a symbol of elegance, simplicity, and timeless beauty. This classic nail design is characterized by its natural-looking nude or pale pink base with white tips, offering a clean, polished, and sophisticated aesthetic. Although the French manicure is often associated with formal occasions, it’s versatile enough to complement everyday wear. Whether you’re getting ready for a night out, a wedding, or simply want to add a touch of class to your daily routine, mastering the art of the French manicure can elevate your nail game to new heights.
In this article, we’ll guide you through the process of creating a perfect French manicure at home. We’ll explore everything from choosing the right products to tips on application, and even how to maintain the manicure for long-lasting results.
What You’ll Need
Before you get started, make sure you have all the necessary tools and products. Here’s a list of what you’ll need:
- Base Coat: A clear base coat helps protect your nails from staining and provides a smooth surface for the rest of the polish to adhere to.
- Nude or Light Pink Nail Polish: This will serve as the base of your French manicure. You can opt for a shade that matches your natural nail color.
- White Nail Polish: For the tips, you’ll need a white polish. Choose a high-quality white polish that’s opaque and streak-free.
- French Tip Guides or Tape: If you want perfectly straight lines, French tip guides or tape can help achieve that clean edge.
- Top Coat: A clear top coat adds shine and seals the design in place for lasting durability.
- Nail Polish Remover: To clean up any mistakes or smudges around the edges.
- Cotton Swabs or Brushes: For any touch-ups after application.
Step 1: Prepare Your Nails
The first step in creating a flawless French manicure is preparing your nails. This includes cleaning, trimming, and shaping your nails to your desired length. Follow these steps to ensure your nails are primed for the perfect manicure:
- Remove Old Polish: If you have any leftover polish, start by removing it with a gentle nail polish remover.
- Shape Your Nails: Use a nail file to shape your nails. Most people go for an oval or almond shape for a French manicure, but you can opt for any shape that suits your style.
- Push Back Cuticles: Gently push back your cuticles using a cuticle pusher or an orangewood stick.
- Buff Your Nails: Lightly buff your nails to remove any ridges and create a smooth surface.
- Clean and Dry: Wash your hands and dry them thoroughly. Any oils or moisture left on your nails can interfere with the polish’s adhesion.
Step 2: Apply the Base Coat
A base coat is essential for ensuring the longevity of your manicure and preventing your nails from staining. Apply a thin, even layer of base coat to each nail. Allow it to dry completely before moving on to the next step. This step is crucial because it provides a foundation that will help the rest of the nail polish glide on smoothly.
Step 3: Apply the Nude or Light Pink Polish
Once your base coat is dry, it’s time to apply the nude or light pink color. This color should be close to your natural nail color to give a clean and polished look. Apply two coats of the nude polish for full opacity.
- First Coat: Apply a thin, even layer from the base of your nail to the tip, ensuring you cover the entire surface. Allow this coat to dry completely.
- Second Coat: Apply a second coat to achieve a smooth and even finish. If necessary, use a third coat to perfect the coverage.
Step 4: Create the French Tips
Now, the fun part begins: creating the iconic white tips! This is where you can get creative, but the goal is to create clean, precise lines that separate the base color from the tips.
Option 1: Using French Tip Guides
If you prefer a foolproof method, French tip guides are your best friend. These adhesive strips are designed to help you create perfect lines without the hassle of trying to freehand the tips.
- Apply the French tip guides along the tips of your nails, making sure they are straight and positioned evenly.
- Once the guides are in place, apply the white nail polish to the exposed tips of your nails. Use a small brush for precision, and ensure the lines are thick enough to be visible but not too heavy.
- Allow the white tips to dry completely before carefully removing the French tip guides.
Option 2: Freehand Method
If you have a steady hand, you can skip the guides and paint the tips freehand. This method requires a bit more practice but can result in a more personalized and unique look.
- Using your white nail polish, start at the edge of your nails and create a curved line across the tip. The curve should follow the natural shape of your nail.
- Keep the lines smooth and consistent, and don’t rush. You can always go back and touch up if needed.
- For precision, use a thin brush or a detail nail art brush for creating the perfect curve.
Step 5: Clean Up Any Mistakes
Once your tips are applied and dry, it’s time to clean up any smudges or mistakes. Dip a cotton swab or small brush into nail polish remover, and gently clean the edges of your nails to make the lines crisp and sharp.
Be careful not to disturb the polish on the nail itself. A steady hand is key here.
Step 6: Apply the Top Coat
To finish off your French manicure, apply a clear top coat to seal the design and add a glossy shine. The top coat not only protects the polish from chipping but also gives your nails a smooth, professional-looking finish.
- Apply a generous layer of top coat over the entire nail, ensuring that the edges are sealed.
- Allow the top coat to dry completely.
Step 7: Maintain Your French Manicure
To ensure that your French manicure lasts as long as possible, you’ll need to take good care of your nails. Here are some tips for maintaining your French manicure:
- Avoid Bumping or Scraping: Be mindful of your nails when doing everyday tasks to avoid chipping the tips.
- Moisturize Your Nails: Keep your nails and cuticles moisturized with cuticle oil or a nourishing hand cream. Dry nails are more prone to breakage.
- Touch Up When Necessary: If the tips start to wear down, you can easily touch them up with white polish to maintain the look.
- Reapply Top Coat: To preserve the glossy finish, apply a fresh layer of top coat every few days.
The French manicure is a classic design that never goes out of style. By following these simple steps and using the right products, you can create a flawless French manicure from the comfort of your home. With practice, you’ll be able to perfect the technique, and soon you’ll be able to achieve salon-quality nails without the high price tag.
Remember, the key to a perfect French manicure lies in attention to detail, patience, and practice. Don’t be discouraged if your first attempt isn’t perfect—keep trying, and soon you’ll master this elegant nail art!


+ There are no comments
Add yours